
Step-by-Step Guide to adding the Replyco Live Chat widget to your website.

Access Rights Needed:
Main => Instant Messages (View & Edit)
Tools => Widgets (View & Edit)
Adding Live Chat to your website helps connect you with its visitors in real time, enhancing their customer service experience. Follow this universal guide if your website doesn’t use a content management system like WordPress or an eCommerce platform like Shopify. Otherwise, please check our separate guides for integrating the Replyco Live Chat Widget with these channels.
Step 1: Go to the Widgets Tab
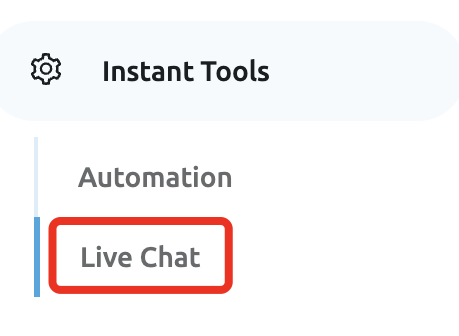
Navigate to the Instant Tools section, then click on the Widgets tab.
Step 2: Create a New Widget
Click the + Create New button to start setting up your Live Chat.

Step 3: Set Up Your Live Chat Appearance
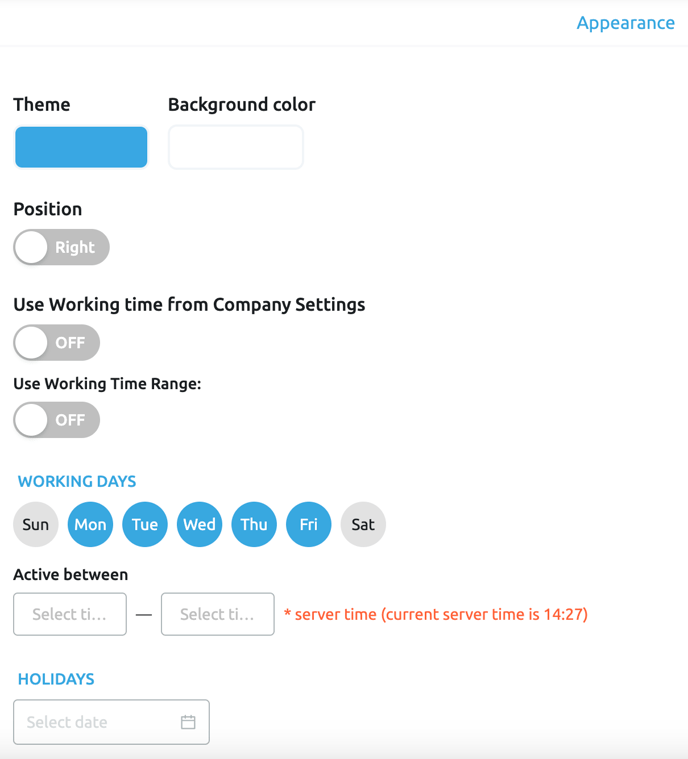
Customise your Live Chat widget's appearance, messaging, and settings.
- Theme: Choose a colour for your widget.
- Background Colour: Select the colour for the chat window’s background.
- Position: Choose to display the widget on the left or right of the screen.
- Working Days / Hours / Holidays: Set your operating hours, which will determine whether web visitors see the “During business hours” or “Outside business hours” message. You may use the working hours from your Company Settings.
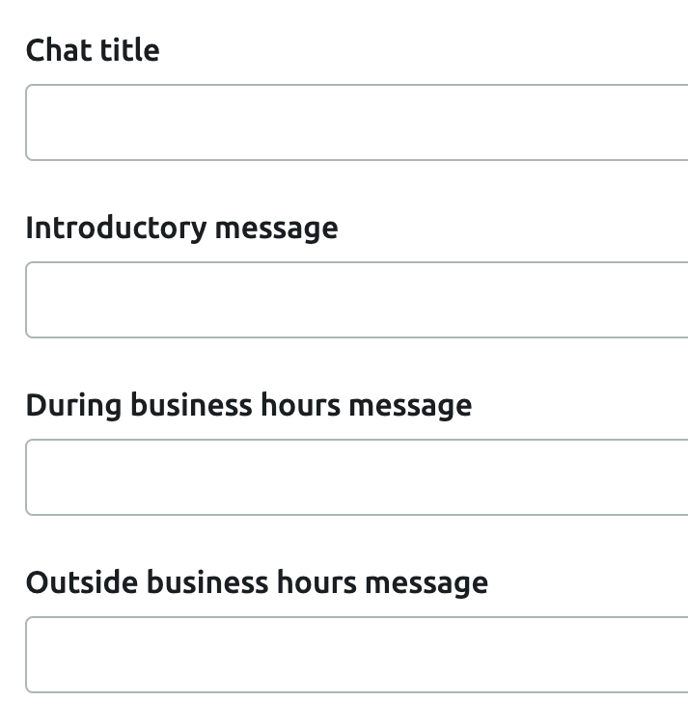
Customize Widget Text:
- Chat Title: The title visitors see before starting a conversation.
- Introductory Message: A message displayed at the start of the chat, e.g., "How can we help you?"
- During Business Hours Message: What appears during normal operation hours.
- Outside Business Hours Message: What visitors see when you are unavailable.


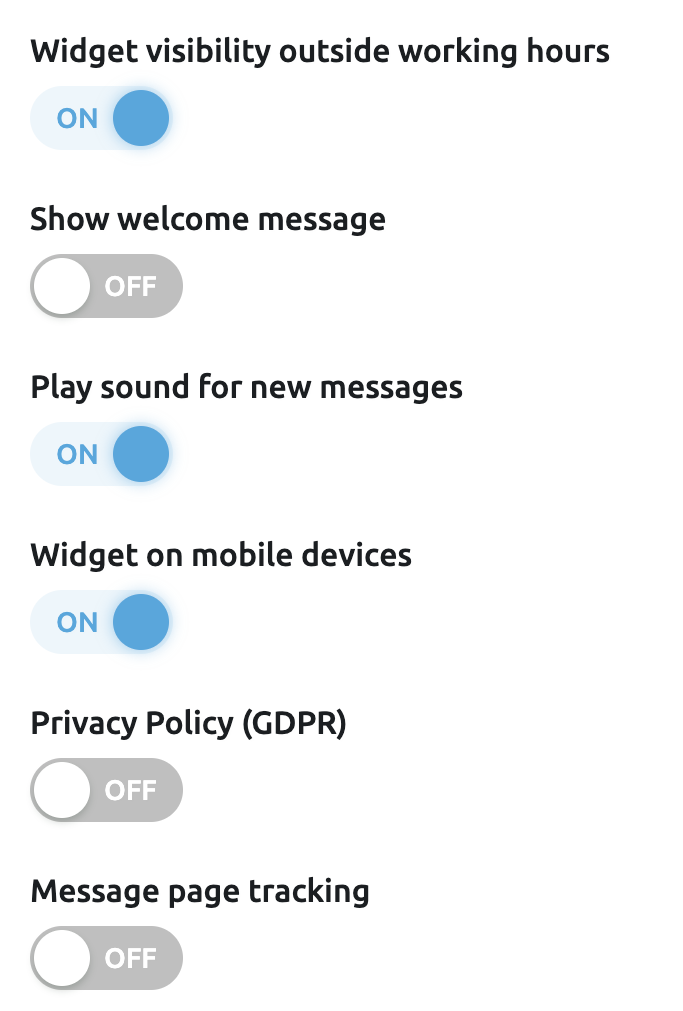
Adjust Additional Features:
- Widget Visibility: Toggle to show/hide the widget outside of business hours.
- Show Welcome Message: Toggle to display the "Introductory Message" above the widget icon.
- Play Sound: Toggle to play a sound for new messages.
- Mobile Devices: Toggle to show/hide the widget on mobile devices.
- Privacy Policy (GDPR): Toggle to show the privacy consent checkbox.
- Message Page Tracking: Toggle to display the URL of the page a visitor is messaging from.
Ensure all required fields are filled out before proceeding.
Step 4: Copy the Live Chat HTML Code
Go to the Installation tab for your newly created widget, and click Copy next to the HTML code.
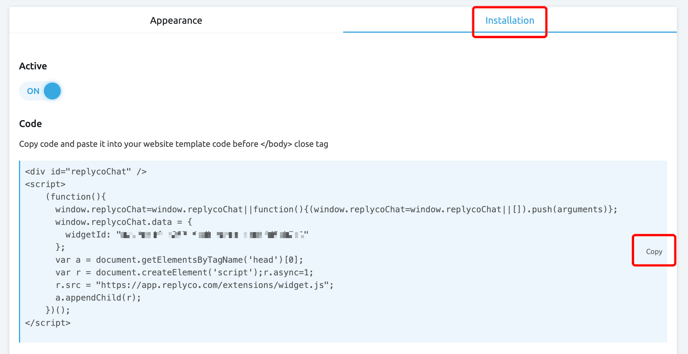
Please ensure your widget is set to Active before proceeding. Don't forget to click the Save button after toggling it.
Step 5: Edit Your Website’s HTML
Use your preferred text editor or online tool to open your website's HTML. Paste the Live Chat code you copied earlier between the <body> and </body> tags of the desired page.
Repeat this process for every page you want the widget on.

Step 6: Save Your Revised HTML
Save and upload the updated HTML to your hosting service. If using an online platform, saving or updating will make the widget live. Refresh the page to verify the widget appears.
All Done!
Your Replyco Live Chat widget is now live on your website.

Using Replyco Live Chat
To manage incoming Live Chat messages, go to the Instant Messages tab, where you can respond to all messages easily.
